Fluid Power Maintenance Masterclass
Step-by-Step Guide: How to Rebuild a Hydraulic Cylinder Safely
An authoritative technical blueprint exploring depressurization protocols, precision dismantling, elastomeric seal replacement, and the advanced diagnostic testing required to restore fluid power actuators to factory specifications.

Restoring the Heart of Industrial Machinery
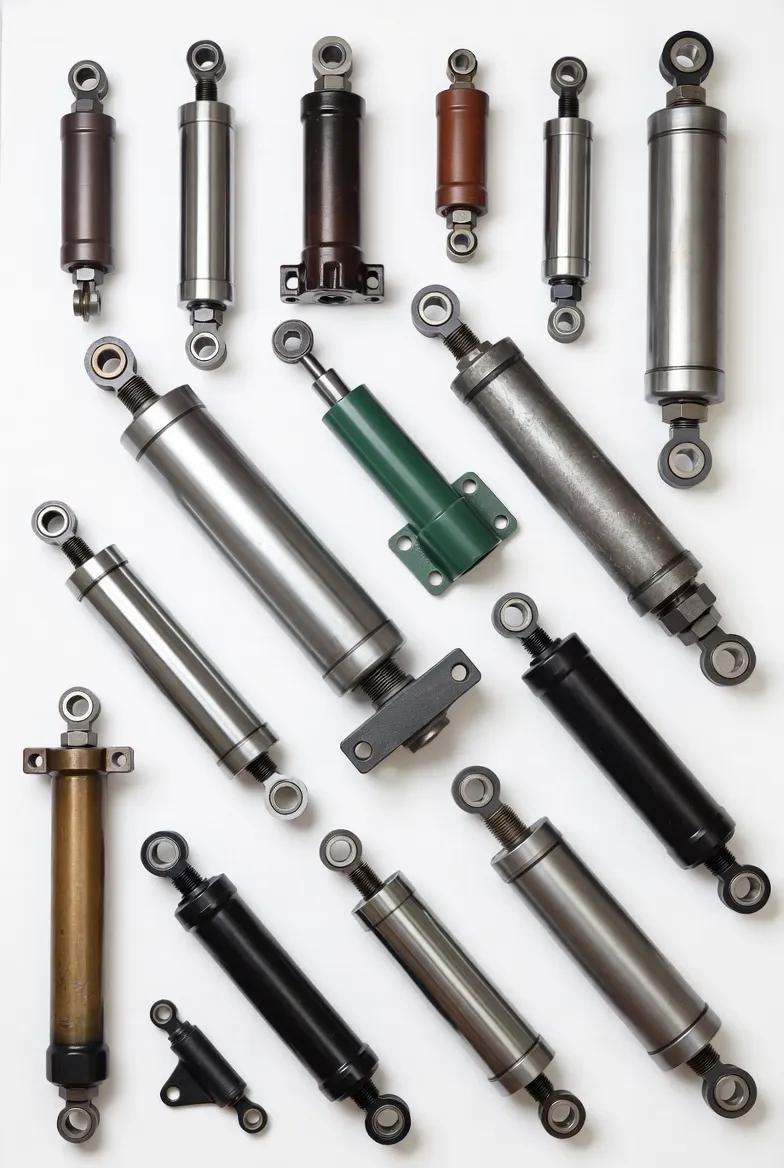
In the highly rigorous disciplines of heavy equipment maintenance, automated manufacturing, and commercial earthmoving, fluid power systems are the undisputed backbone of kinetic force. Hydraulic linear actuators convert the immense hydrostatic pressure of synthetic fluid into perfectly controlled, unrelenting linear motion. However, even the most exquisitely engineered pressure vessels are subject to the inescapable laws of thermodynamics and tribological friction. Over millions of extension and retraction cycles, internal elastomeric seals inevitably degrade, external chrome rods suffer from abrasive scoring, and high-pressure fluid begins to bypass internal boundaries. When an equipment operator notices a severe loss of lifting power or a visible fluid leak, knowing exactly how to rebuild a hydraulic cylinder safely becomes the most critical skill in the maintenance engineering arsenal. For a comprehensive overview of industry standards, you can explore our premium hydraulic cylinders platform.
Rebuilding a fluid power actuator is not a task for the unprepared. These components routinely contain trapped hydrostatic pressures exceeding three thousand pounds per square inch. A momentary lapse in safety protocols during the dismantling phase can result in lethal high-pressure fluid injection injuries or violent mechanical amputations caused by uncontrolled kinetic spring releases. The process requires a meticulous, systematic approach, leveraging specialized tooling such as adjustable gland nut spanners, heavy-duty breakout benches, micrometer measurement devices, and precision seal installation picks. It is a highly deliberate mechanical surgery designed to extract compromised polymers and restore the steel housing to absolute factory tolerances.
From an authoritative engineering perspective evaluated against international fluid power safety standards, a successful rebuild encompasses far more than simply replacing rubber O-rings. It involves a deep diagnostic evaluation of the metallurgical health of the cylinder barrel, identifying the root cause of lateral side-loading, and executing flawless cleanliness protocols to prevent immediate post-rebuild contamination. Whether you are servicing standard automation actuators or massive Excavator Hydraulic Cylinders, this step-by-step technical guide will dissect the exact procedural milestones required to safely and effectively overhaul your heavy machinery.
Phase 1: Pre-Rebuild Preparation and Absolute Safety Protocols
The most dangerous moment in any hydraulic maintenance procedure is the initial breach of the pressure vessel. Trapped potential energy must be systematically neutralized before a single wrench is applied to the actuator.
Lockout/Tagout and Depressurization
Prior to removing the cylinder from the machine chassis, the entire fluid power network must be subjected to a rigorous Lockout/Tagout (LOTO) procedure. The primary prime mover engine or electric motor must be shut down, and the key removed. Crucially, the machine must be mechanically blocked. For instance, if you are servicing Dump Truck Hydraulic Cylinders, the massive cargo bed must be physically secured with heavy steel prop stands. Never rely on hydraulic pressure to hold a load while you loosen fittings. Once blocked, cycle the directional control valves back and forth multiple times to bleed off any residual hydrostatic pressure trapped within the accumulator circuits.
Fluid Drainage and Extraction
Once the system is verified dead, carefully crack the high-pressure hose fittings. Wear reinforced safety goggles and heavy nitrile gloves to prevent high-velocity fluid injection injuries. Allow the synthetic oil to drain completely into approved environmental catch basins. Cap the open hoses immediately to prevent airborne silica dust from contaminating the main machine reservoir. Extract the mounting clevis pins—using penetrating solvents or a hydraulic puller if they are seized—and carefully transport the heavy cylinder to a dedicated, clean workbench equipped with a heavy-duty chain vise.

Phase 2: Precision Dismantling of the Hydraulic Cylinder
The dismantling phase requires immense torque combined with surgical precision. The method differs vastly depending on whether you are servicing a tie-rod style automation cylinder or a heavy-duty welded body actuator used in mobile equipment.
Extracting the Head Gland
For a welded body cylinder, the cast iron head gland is typically threaded directly into the steel barrel and secured with industrial locking adhesives. Secure the cylinder barrel tightly in a chain vise, ensuring you clamp only on the reinforced base weldment—clamping the middle of the hollow tube will crush it out of round. Utilize a specialized adjustable pin spanner wrench that perfectly engages the drilled holes on the face of the gland. If the gland is seized due to severe rust or thread-locker, you may need to apply localized heat using an oxy-acetylene torch to break the chemical bond, followed by the use of a heavy dead-blow mallet to shock the threads loose.
Removing the Piston and Rod Assembly
Once the head gland is successfully unthreaded, carefully pull the entire chrome piston rod assembly straight out of the barrel. This requires steady, perfectly linear force to prevent the heavy steel piston from dragging against and scoring the micro-honed interior wall of the cylinder tube. If the suction is too intense, injecting a small burst of compressed air into the base port can assist in popping the piston free. Once extracted, place the rod assembly on a clean, rubber-matted surface to prevent accidental scratching of the delicate chrome plating.
Next, remove the massive locknut securing the piston to the rod. This nut is often torqued to thousands of foot-pounds and may require a hydraulic torque multiplier or a heavy-duty impact wrench. Slide the piston off the rod, followed by the head gland.
Phase 3: Inspection, Diagnostics, and Micrometer Testing
Before installing a single new seal, the engineer must perform a ruthless metallurgical inspection of the hard parts. Putting new seals onto damaged steel guarantees a catastrophic leak within hours of reassembly.
Evaluating the Chrome Rod
Run your bare fingernail along the entire length of the polished chrome rod. If your nail catches on a deep longitudinal scratch, a pitted rust bubble, or a jagged dent from a kinetic rock strike, the rod is terminally compromised. These imperfections will act like razor blades, instantly shredding the new polyurethane seals. Additionally, place the rod on V-blocks and utilize a dial indicator to check for Euler buckling deflection. If the rod is bent beyond factory runout tolerances, it cannot be safely straightened; it must be completely replaced with new induction-hardened chrome stock.
Internal Barrel Honing Inspection
Shine a high-intensity inspection light down the bore of the empty cylinder barrel. You are looking for signs of abrasive particulate scoring or “barrel ballooning” (plastic deformation caused by extreme over-pressurization). The interior wall must display a smooth, uniform micro-honed cross-hatch pattern. If there are deep vertical grooves caused by contaminated fluid bypassing the piston, the barrel must be mounted in a specialized honing machine to restore the correct inner diameter, or discarded if the scoring is too deep to safely machine out.

Phase 4: Seal Replacement and Precision Reassembly
With the hard steel components verified clean and structurally sound, you can proceed to the delicate installation of the elastomeric polymers. This phase demands absolute cleanliness to maintain ISO fluid purity standards.
- ✔️
Extracting the Old Seals: Utilize brass or specialized plastic seal picks to pry the degraded U-cups, O-rings, and backup rings out of the piston and head gland grooves. Never use hardened steel screwdrivers, as a single scratch in the seal groove will create an irreversible fluid bypass channel. Clean all grooves meticulously with brake cleaner and compressed air.
- ✔️
Installing the New Polymer Architecture: Hydraulic seals are directional. The primary pressure lips of the U-cups must always face the source of the high-pressure fluid. Gently warm stiff polyurethane seals in warm water to increase their pliability before installation. Ensure the PTFE glide rings and external wiper seals are seated flawlessly. For precision equipment like Forklift Hydraulic Cylinders, the exact orientation of the load-holding check valve seals is critical to prevent load drift.
- ✔️
Re-Torquing and Barrel Insertion: Liberally coat all new seals, the piston, and the rod with clean hydraulic assembly lube. Slide the head gland back onto the rod, followed by the piston. Torque the main piston locknut to the exact factory specification to prevent it from vibrating loose inside the barrel. Carefully slide the entire assembly back into the steel tube, utilizing a piston ring compressor sleeve to gently guide the seals past the barrel threads without pinching or shearing the delicate polymer lips. Re-thread the head gland and tighten securely with the spanner wrench.

Phase 5: Testing, Quality Assurance, and Re-Commissioning
A rebuilt hydraulic cylinder is not considered safe for industrial use until it has passed rigorous hydrostatic pressure testing to verify its structural and sealing integrity.
Before reinstalling the cylinder onto the heavy machinery, it should be connected to a dedicated hydraulic test bench. Slowly introduce low-pressure fluid to extend and retract the cylinder multiple times. This critical step purges any trapped atmospheric air from the chambers, preventing the devastating thermodynamic “diesel effect” micro-explosions that occur when air is rapidly compressed. Once fully bled, cap one end and pressurize the cylinder to 1.5 times its normal operating pressure. Hold this static load for ten minutes while meticulously inspecting the head gland, base welds, and ports for even a microscopic weep of fluid. If the pressure gauge holds steady with zero drop, the rebuild is a mathematical success. The cylinder can then be re-pinned to the chassis, verifying perfect geometric alignment to prevent future side-loading, particularly crucial in high-reach equipment like Aerial Work Vehicle Hydraulic Cylinders.

Conclusion: Ensuring Unyielding Mechanical Reliability
Understanding exactly how to rebuild a hydraulic cylinder safely is a cornerstone capability of elite industrial maintenance engineering. It is not a brute-force endeavor; it is a highly calibrated process that requires absolute respect for immense hydrostatic potential energy. By executing flawless Lockout/Tagout depressurization protocols, evaluating the metallurgical integrity of the steel housing with precision micrometers, installing advanced polymer seals with exacting care, and performing rigorous hydrostatic bench testing, maintenance professionals can resurrect failed actuators. A properly executed rebuild resets the operational lifecycle, guaranteeing that the world’s most powerful automated machinery continues to deliver uncompromising, safe, and relentless kinetic force for years to come. For agricultural environments where equipment is pushed to the limit, ensuring your Agricultural Hydraulic Cylinders are rebuilt to factory specifications is the key to minimizing seasonal downtime.