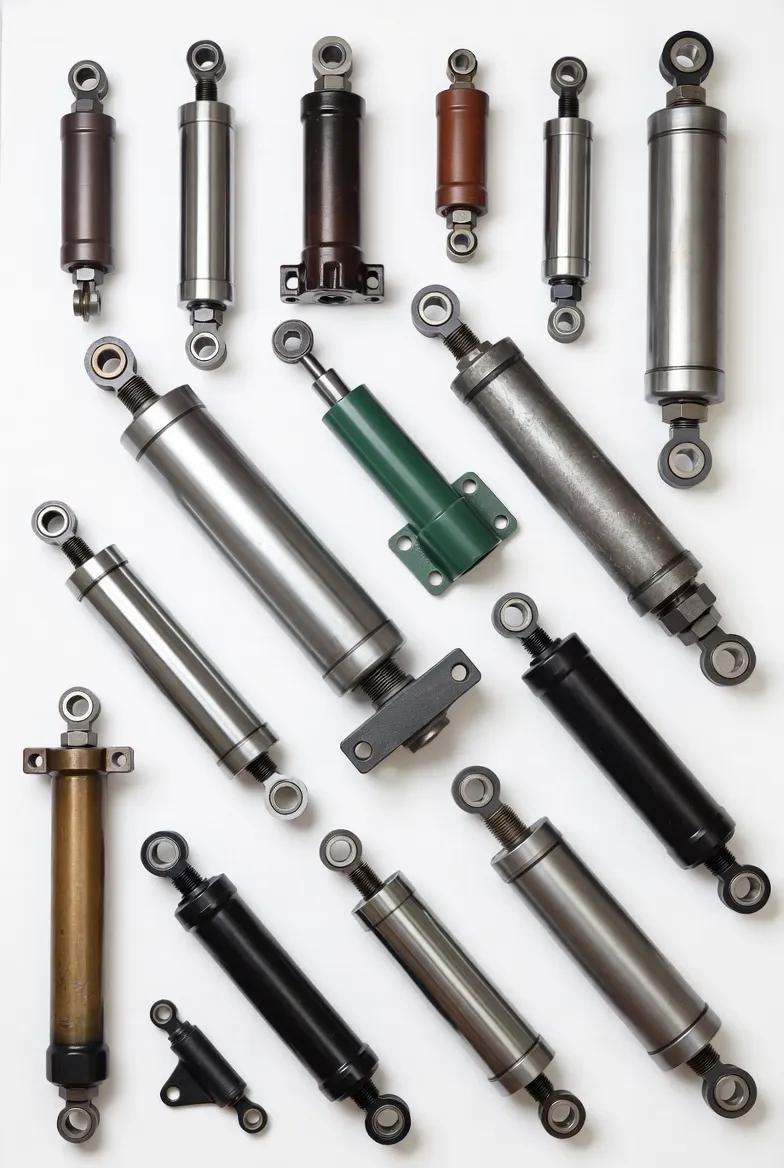
Fluid Power Maintenance Engineering
How to Disassemble a Hydraulic Cylinder: The Authoritative Teardown Guide
A comprehensive technical manual detailing safe depressurization protocols, gland extraction techniques, rod assembly removal, and precision inspection for industrial fluid power actuators.

The Crucial First Step in Fluid Power Restoration
In the highly demanding realms of heavy construction, industrial manufacturing, and automated material handling, fluid power systems endure brutal operational conditions. Hydraulic cylinders are subjected to relentless hydrostatic pressures, abrasive environmental contaminants, violent shock loads, and extreme thermal cycling. Over thousands of operational hours, even the most meticulously engineered linear actuator will inevitably experience wear. When external fluid leaks manifest, or when internal pressure bypass causes a suspended load to drift dangerously, maintenance professionals face a critical task. Knowing exactly how to disassemble a hydraulic cylinder is the fundamental prerequisite for executing a successful repair, replacing degraded seals, and restoring the machinery to its original factory performance specifications.
The hydraulic cylinder teardown process is not a procedure that accommodates shortcuts or crude force. A linear actuator is a highly sophisticated pressure vessel. The internal components are machined to microscopic tolerances, and the torque applied to retaining nuts often exceeds hundreds of foot pounds. Attempting to open a heavy duty actuator without the proper methodologies, specialized tooling, or rigorous safety protocols can result in catastrophic damage to the cylinder barrel, irreversible scoring of the chrome piston rod, or severe physical injury to the technician. Fluid power under pressure holds immense kinetic energy, and neutralizing that energy is the absolute foundation of the disassembly process.
From a highly authoritative engineering perspective, disassembling a hydraulic cylinder requires a methodical, step by step approach evaluated against the strictest industrial safety standards. You must master the techniques for safely depressurizing the hydraulic system, extracting heavily torqued threaded glands, pulling the piston and rod assembly without inducing lateral binding, and preparing the bare metal components for precision inspection. This comprehensive technical guide will break down the exact protocols, the physics of component extraction, and the practical application methods required to flawlessly execute a hydraulic actuator repair teardown.
Phase 1: Critical Safety Protocols and Machine Preparation
Before introducing a single wrench to the fluid power system, the technician must neutralize all kinetic energy. A hydraulic system holding a suspended payload acts as a massive loaded spring. Safety is the overriding priority.
Mechanical Securing and Load Relief
If the hydraulic cylinder is still attached to the heavy machinery, you must entirely remove the load it is supporting. Lower the excavator boom to the solid ground, block the stamping press platen with heavy duty steel cribbing, or mechanically pin the articulation joints. The machine must rest in a zero energy physical state. Once the mechanical load is neutralized, shut down the primary hydraulic power unit and execute strict Lockout Tagout procedures to prevent accidental activation during the disassembly process.
Depressurizing the Hydraulic Circuit
Even with the pump off, hydraulic circuits trap immense hydrostatic pressure within the hoses and cylinder chambers. Actuate the machine control levers back and forth multiple times to bleed this residual pressure back into the main fluid reservoir. When loosening the hydraulic hose fittings connected to the cylinder ports, crack the threaded connections open extremely slowly. Wear high impact safety glasses and impenetrable gloves, as trapped pressurized oil can inject directly through human skin if released rapidly. Allow all fluid to drip safely into an approved chemical containment vessel.

Phase 2: Extraction and Environmental Control
Once the actuator is physically decoupled from the hydraulic power grid, it must be removed from the machinery chassis. Large bore industrial cylinders can weigh thousands of pounds. Do not attempt to muscle heavy components by hand. Utilize certified nylon rigging straps, mechanical hoists, or overhead gantry cranes to carefully extract the cylinder by its mounting clevises or trunnion pins.
Crucially, the actual disassembly of the hydraulic cylinder should never take place on a dirty shop floor or out in the elements. Fluid power systems possess absolute zero tolerance for particulate contamination. A single microscopic grain of sand introduced during the teardown can score the polished barrel wall upon reassembly, instantly destroying the new seals. Transport the extracted cylinder to a dedicated, climate controlled clean room or a highly sanitized stainless steel workbench. Before opening the pressure vessel, aggressively wash the entire exterior of the cylinder using industrial degreasers and a pressure washer to remove all caked mud, concrete dust, or hardened grease.

Securing the Actuator for Teardown
You cannot effectively apply the massive torque required to dismantle a cylinder if it is rolling around on a table. The cylinder barrel must be rigidly secured. For medium to large actuators, utilize a specialized heavy duty cylinder repair bench or a massive chain vise. Ensure the clamping mechanism grips the thickest, most reinforced section of the steel barrel typically near the base weld. Never clamp down on the middle of a thin walled cylinder tube, as the crushing force of the vise will permanently warp the bore out of round, ruining the actuator entirely.
Phase 3: Removing the Cylinder Head Gland
The cylinder head, commonly referred to as the gland, is the heavy steel or ductile iron cap through which the piston rod protrudes. Removing this component is the gateway to the internal mechanics. The extraction method depends entirely on the architectural design of the actuator.
Threaded Glands
In heavy duty welded body cylinders, the gland is typically threaded directly into the internal diameter of the steel barrel. These glands feature specific holes or slots on the face. You must utilize a highly specialized adjustable pin spanner wrench or a dedicated gland nut wrench that mates perfectly with these slots. Because these threads are subjected to extreme pressure and often locked with industrial retaining compounds, breaking the static torque is difficult. Mechanics frequently employ long cheater bars for leverage or utilize hydraulic breakout machines. Applying localized, controlled heat from an induction heater can help soften stubborn thread locking adhesives.
Tie Rod Constructions
For tie rod cylinders commonly found in factory automation, the disassembly is structurally different. The head gland is sandwiched between the barrel and a steel end cap. You must sequentially loosen the four or more external threaded steel tie rods that run the length of the cylinder. Loosen the nuts in a crisscross, star pattern to relieve the clamping pressure evenly and prevent the internal components from binding. Once the tie rods are removed, the front end cap and the head gland can be carefully slid off the piston rod.
Snap Ring Retainers
Many modern compact or mobile equipment cylinders utilize an internal wire ring or heavy duty snap ring to secure the gland. To disassemble this architecture, you must first push the gland slightly deeper into the cylinder barrel using a hydraulic press or a specialized pulling tool. This action exposes the hidden internal snap ring. Utilize heavy duty snap ring pliers to compress and extract the retaining ring. Once the ring is removed, the fluid power system can actually be used to pop the gland out; apply a very brief, highly controlled burst of low pressure shop air to the base port to gently force the gland assembly outward.
Phase 4: Extracting the Piston Rod Assembly
With the gland successfully unthreaded or unbolted, the entire internal assembly consisting of the piston rod, the main piston, and the heavy duty pressure seals can be pulled free from the cylinder barrel. This extraction phase requires extreme lateral precision and physical support.
- ✔️
Linear Extraction: The heavy steel piston is machined to exact tolerances to fit tightly inside the honed barrel. When pulling the assembly out, you must support the heavy rod to keep it perfectly aligned with the central axis of the tube. If the rod sags downward, the metal edge of the piston will aggressively drag against the mirror finish of the internal barrel wall, creating deep longitudinal score marks that will instantly destroy the new seals upon reassembly. For large actuators, attach an overhead hoist to the rod eye to maintain zero gravity alignment while sliding it outward.
- ✔️
Fluid Containment: As the massive piston is pulled past the open end of the barrel, a significant volume of residual hydraulic oil trapped behind the piston will suddenly flood out. Ensure that high capacity drip pans and absorbent mats are pre positioned beneath the open end of the cylinder to maintain a clean and safe workspace.
- ✔️
Surface Protection: Once extracted, never lay the highly polished chrome piston rod directly on a bare steel workbench or concrete floor. Even minor physical impacts will create sharp pits in the chrome plating that will shred the gland wiper seals. Place the entire extracted assembly onto clean wooden V-blocks or thick rubber mats for the remainder of the teardown.

Phase 5: Removing the Piston from the Rod
To access the critical dynamic seals located on the cylinder head gland, the solid steel piston must be completely removed from the end of the piston rod. This is frequently the most physically demanding step in how to disassemble a hydraulic cylinder.
The piston is typically secured to the rod via a massive locking nut or a threaded connection directly onto the rod itself. Because this connection endures violent push pull shock loads during machine operation, the factory torque specifications are immense, often requiring thousands of foot pounds of breakaway force. Furthermore, OEMs heavily apply high strength anaerobic thread locking compounds or utilize mechanical set screws to prevent the nut from backing off. You must locate and remove any securing set screws first. Then, secure the rod eye in a heavily padded vise. Utilizing an industrial torque multiplier, a massive hydraulic wrench, or a 1-inch drive pneumatic impact gun is generally required to break the nut loose. Once the retaining nut is removed, the piston can be pulled off the rod shaft, finally allowing the cylinder head gland to slide completely off the back of the rod.

Conclusion: The Foundation for Precision Rebuilding
Mastering the hydraulic cylinder teardown process is the absolute foundation of successful fluid power maintenance. A poorly executed disassembly will destroy expensive hardware and render the actuator irreparable. By adhering to uncompromising safety protocols, understanding the unique mechanical architectures of threaded, tie rod, and snap ring glands, and utilizing the correct high torque extraction tooling, engineering professionals can safely dismantle these powerful mechanisms. With the actuator completely stripped down to its bare metal components, the true work of inspecting the barrel honing, verifying rod straightness, and installing advanced high pressure seal kits can begin, ensuring the machinery returns to the field with absolute, unyielding reliability.