Fluid Power Engineering Best Practices
How Do I Install A Hydraulic Cylinder Properly?
A comprehensive, authoritative guide detailing the exact engineering procedures for mounting, aligning, plumbing, and commissioning fluid power actuators to ensure maximum operational lifespan.

The Crucial Importance of Precision Installation
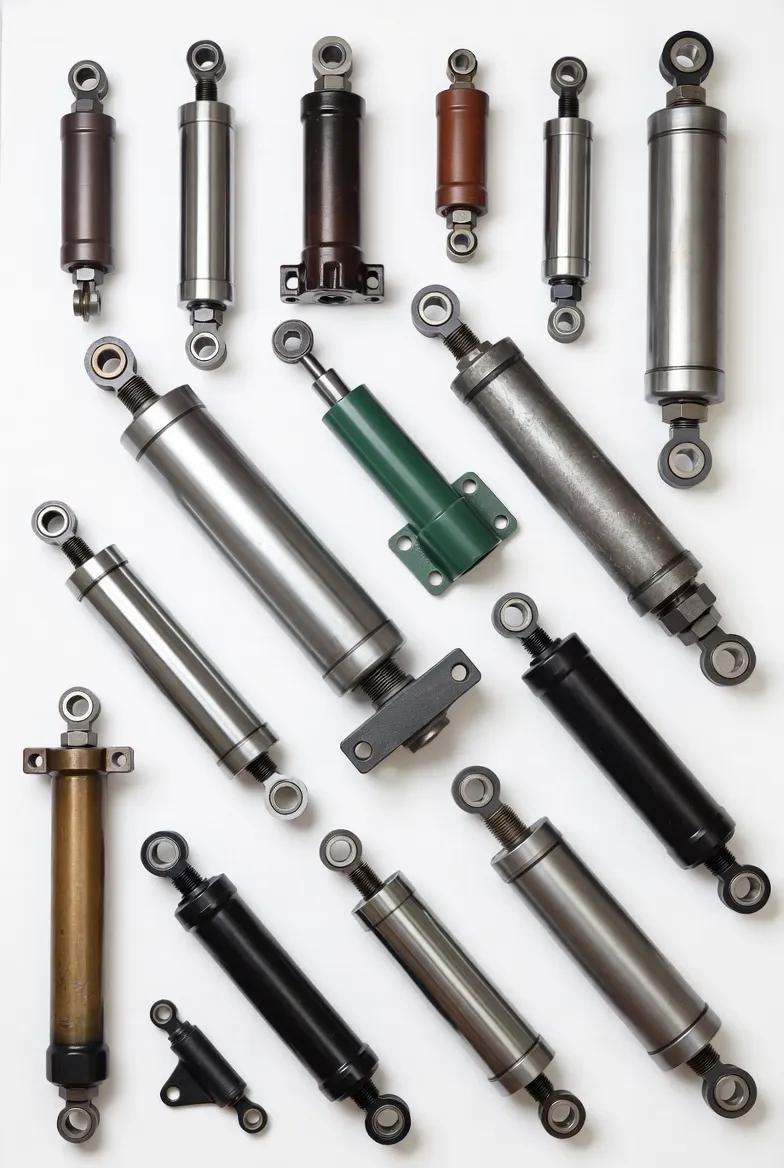
In the demanding fields of heavy equipment manufacturing, aerospace engineering, and industrial automation, one of the most frequently asked technical questions is simply: how do I install a hydraulic cylinder properly? While it may seem like a straightforward mechanical task of inserting pins and attaching hoses, the hydraulic cylinder installation procedure is actually a highly precise engineering operation. A fluid power system generates immense kinetic energy. If an actuator is installed with even a fraction of a degree of misalignment, the resulting premature mechanical wear can lead to catastrophic failure, severe fluid leaks, and incredibly expensive machine downtime.
The core objective when mounting hydraulic cylinders is to ensure that the physical load is transferred strictly along the centerline of the actuator. Any deviation from this centerline creates a condition known as side loading. Side loading forces the chrome plated rod to scrape aggressively against the internal gland bearing, quickly destroying the elastomeric seals and scoring the cylinder barrel. By following a rigorous, step by step fluid power system setup protocol, technicians can completely eliminate side loading, prevent fluid contamination, and guarantee that the actuator performs flawlessly for its intended lifespan.
This definitive guide will walk you through the entire lifecycle of a perfect installation. We will cover pre-installation inspection, the physics of correct mechanical alignment, the precise methods for connecting hydrostatic fluid lines, and the critically important process of bleeding hydraulic cylinders. Whether you are replacing a tie rod cylinder on a factory injection molding machine or installing a heavy duty welded cylinder on an earthmoving excavator, these authoritative engineering principles remain universally applicable.
Phase One: Pre-Installation Inspection and Preparation
The foundation of a successful hydraulic cylinder installation procedure begins long before the unit is ever bolted to the machinery. Rigorous preparation guarantees safety and prevents immediate contamination.
Visual and Dimensional Audit
Before removing the plastic port plugs, physically verify that the new actuator matches the engineering schematics. Measure the retracted length, stroke length, and pin hole diameters. Inspect the chrome rod for any micro abrasions or shipping damage. Even a tiny scratch on the rod plating will act like a razor blade against the wiper seal during operation.
Contamination Control
Hydraulic systems are highly sensitive to microscopic debris. Ensure your workspace is clean. Do not remove the protective plastic port plugs until the exact moment you are ready to connect the hydraulic hoses. If dirt, dust, or metal shavings enter the open ports, they will bypass the internal filters and immediately score the cylinder barrel.
Depressurization Safety
If you are replacing an existing unit, you must completely relieve all hydrostatic pressure from the system before loosening any fittings. Turn off the power unit, engage all physical safety locks on the machinery, and cycle the control valves multiple times to bleed off trapped accumulator pressure. High pressure fluid injection injuries are severely dangerous.

Phase Two: Precision Mounting and Alignment
The physical mounting of the actuator is the most critical step in preventing premature failure. A hydraulic cylinder is designed to push and pull strictly in a straight line. When learning how do I install a hydraulic cylinder properly, mastering alignment is paramount.
Eliminating Side Load Forces
Side loading occurs when the mounting points are not perfectly aligned, causing the cylinder rod to bend slightly as it extends. To prevent this, ensure that the structural mounting brackets on the machine framework are perfectly parallel and true. When using clevis mounts or trunnion mounts, the mounting pins should slide into place smoothly by hand. If you have to use a sledgehammer to force a pin into the mounting eye, your brackets are misaligned, and the cylinder is already experiencing side load before the machine is even turned on.
Spherical Bearings and Articulation
For heavy mobile equipment, utilizing spherical bearings at the rod and base ends is highly recommended. These self aligning bearings provide a small degree of multi directional pivot, compensating for slight chassis flex during heavy earthmoving operations. Apply a high quality lithium based grease to all pivot pins and bearings during assembly to prevent metal on metal galling and ensure smooth kinematic articulation as the cylinder actuates.

Phase Three: Plumbing and Fluid Connections
Connecting the hydraulic system requires strict adherence to torque specifications and thread compatibility to prevent high pressure blowouts and systemic leaks.
Hose Routing and Flexibility
Ensure that hydraulic hoses are routed safely away from pinch points and extreme heat sources. The hoses must possess adequate slack to accommodate the full kinematic motion of the cylinder without pulling tight. Use protective abrasion sleeves on hoses that may rub against the machine chassis during normal operations.
The Danger of Teflon Tape
Never use standard plumbing Teflon tape on hydraulic fittings. Shredded pieces of tape will inevitably enter the fluid stream, traveling directly into the sensitive directional control valves and causing catastrophic system failure. Instead, utilize modern ORB O-Ring Boss fittings, JIC flared fittings, or approved liquid anaerobic thread sealants specifically engineered for high pressure hydraulics.
Torque Specifications
Every fitting must be tightened using a calibrated torque wrench to the exact specifications provided by the manufacturer. Over tightening will crush the O-rings and crack the steel fittings, while under tightening will result in immediate weeping leaks once hydrostatic pressure is applied.
Phase Four: Bleeding Hydraulic Cylinders Properly
Once the unit is physically mounted and plumbed, it is full of ambient air. Because air is highly compressible and hydraulic fluid is not, trapped air causes erratic, spongy, and violently jerky cylinder movements. Furthermore, highly compressed air bubbles can superheat and literally burn the internal seals in a phenomenon known as diesel effect or cavitation. Bleeding air from the system is absolutely mandatory.
- 1️⃣
Lower the System Pressure: Set the main relief valve on the hydraulic power unit to its lowest possible setting. You want fluid moving through the system to push the air out, but without generating dangerous high pressure forces.
- 2️⃣
Locate Bleeder Valves: High end industrial cylinders feature dedicated bleeder valves built into the base and head blocks. Position the cylinder so these valves are facing upwards, as air naturally rises to the highest point in a fluid system.
- 3️⃣
Cycle Without Payload: Before connecting the rod end to the actual machine workload, cycle the cylinder back and forth through its entire stroke slowly. As it reaches the end of each stroke, slightly crack open the bleeder valve. You will hear a hissing sound as the trapped air escapes.
- 4️⃣
Close on Clear Fluid: Once a solid, bubble free stream of hydraulic oil emerges from the bleeder valve, close and tighten it immediately. Repeat this process for both the extension and retraction strokes until the cylinder movement is entirely smooth and silent.

Phase Five: System Commissioning and Final Load Testing
With the actuator perfectly aligned, torqued, and bled, it is time to connect the rod end to the actual machine workload. This phase requires vigilant observation.
Gradually increase the system pressure back to its normal operating specifications. Execute the machine controls to operate the cylinder under a light load initially. Closely monitor the action. Does the cylinder stutter? Is there any abnormal groaning or high pitched squealing from the rod gland? These are immediate indicators that either side loading is still present, or air remains trapped in the lines. If the movement is smooth, proceed to a full load test.
During the full load test, inspect every single threaded connection for weeping fluid. Check the rod wiper seal as the cylinder retracts; it should scrape the chrome rod completely dry. If a thin film of oil remains on the rod as it pulls back into the barrel, the internal primary seal may have been damaged during shipping or installation.

Mastering Fluid Power Reliability
Understanding the intricacies of the hydraulic cylinder installation procedure separates professional engineering from amateur guesswork. By treating the installation as a precision alignment exercise, strictly managing system cleanliness, meticulously managing fluid connections, and properly bleeding hydraulic cylinders, you completely mitigate the primary causes of mechanical failure. An actuator installed correctly according to these principles will reliably convert fluid power into relentless kinetic energy for thousands of operational hours, ensuring peak productivity and superior industrial safety.